How to Use Taylor Meat Thermometer
To use a Taylor meat thermometer, insert the probe into the thickest part of the meat and wait for the temperature to stabilize. The internal temperature of the meat is considered safe to eat when it reaches 145 degrees Fahrenheit.
- Before cooking, remove the thermometer from the packaging and insert into the meat
- Make sure that the thermometer is inserted into the thickest part of the meat
- Cook the meat according to your recipe or preference
- Once cooked, remove the thermometer from the meat and check the temperature reading
How to Use Taylor Digital Wired Probe Thermometer
When it comes to cooking, temperature is everything. Undercooked food can be unsafe to eat, and overcooked food can be dry and unappetizing. That’s why having a reliable thermometer is so important in the kitchen.
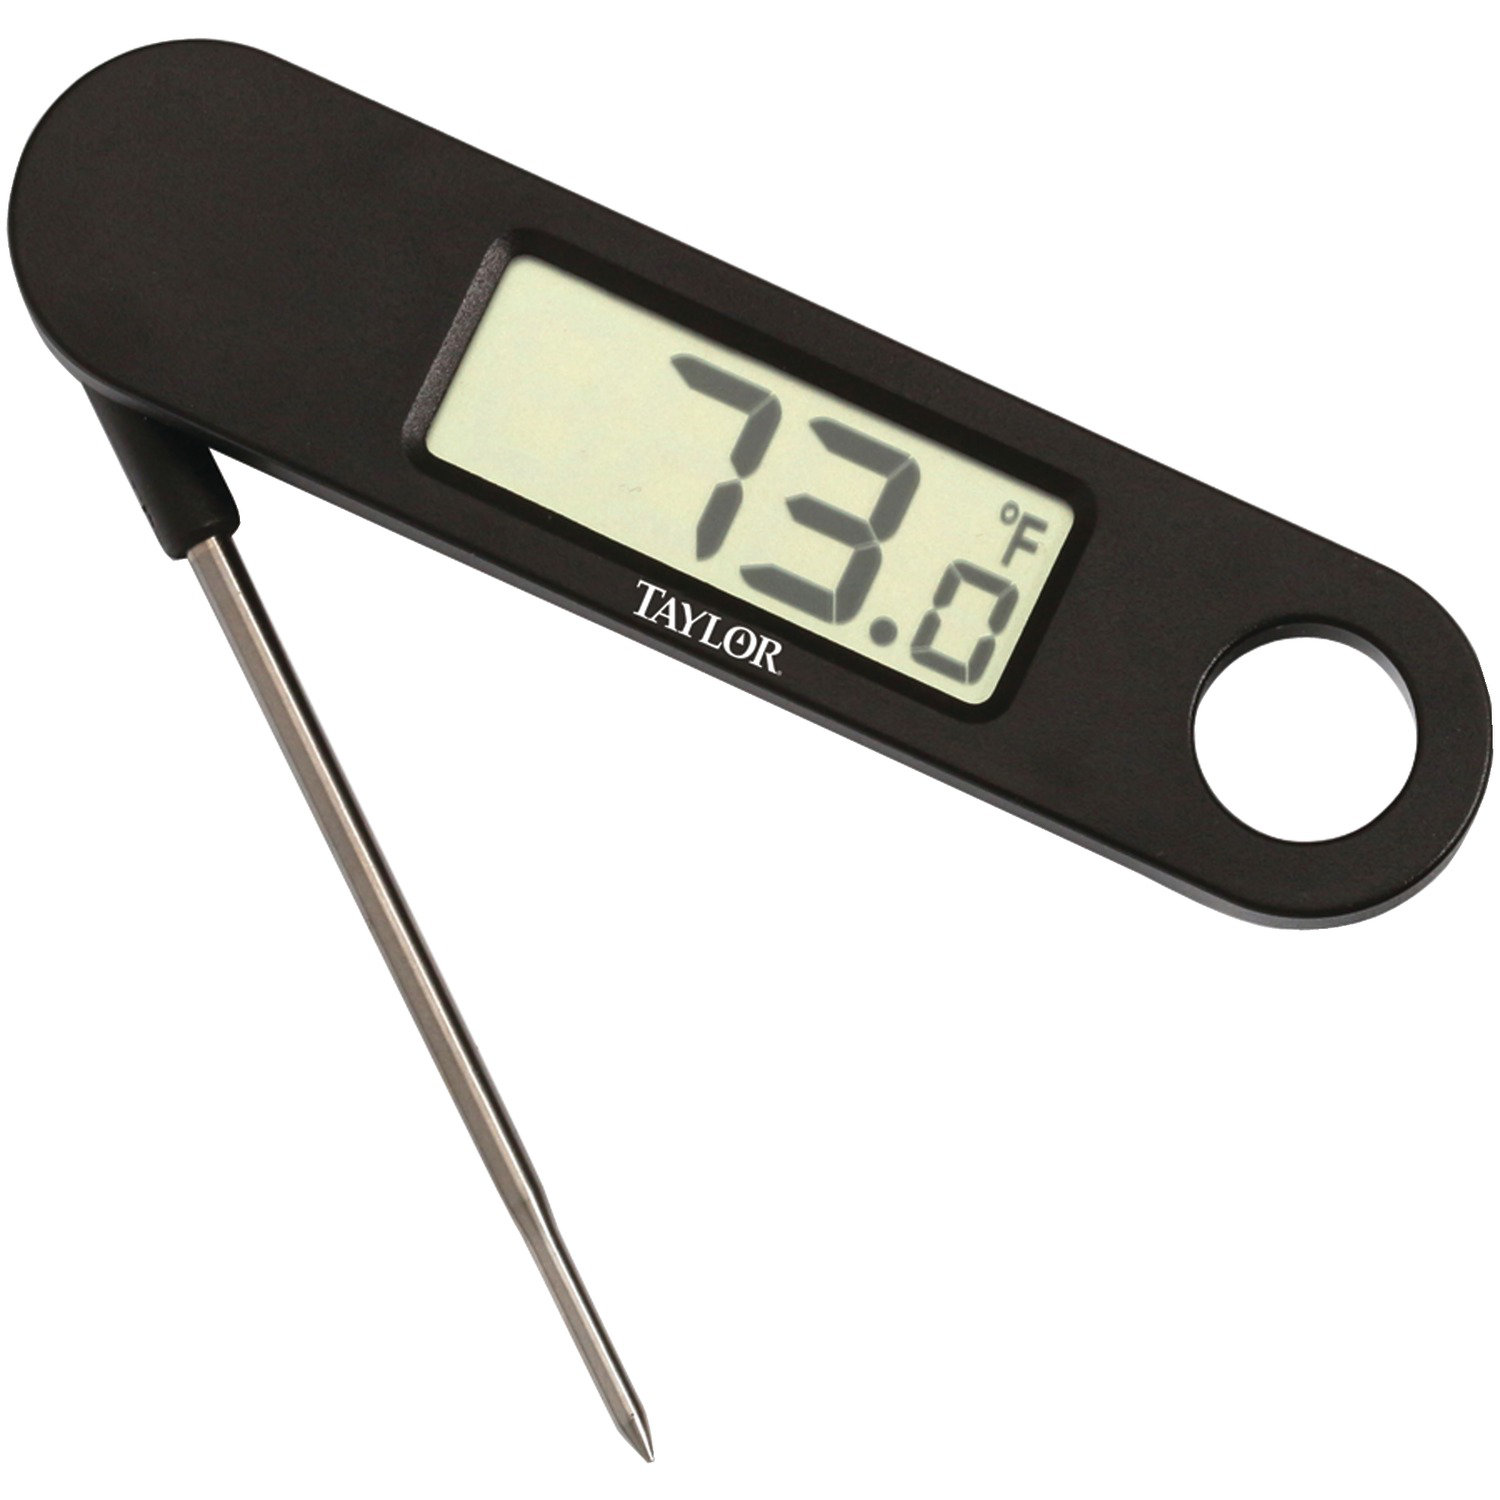
If you’re looking for a quality thermometer that will give you accurate readings every time, look no further than the Taylor Digital Wired Probe Thermometer. This handy little gadget can be used to measure the internal temperature of meat, poultry, and fish, ensuring that your dishes are cooked to perfection every time.
Here’s how to use your Taylor Digital Wired Probe Thermometer:
1. First, insert the probe into the center of the thickest part of the food item you’re cooking. For example, if you’re cooking a chicken breast, insert the probe into the thickest part of the breast.
2. Once the probe is inserted, press down on the power button to turn on the thermometer.
3. The display will show a blinking “L” until it registers a reading; this means it is locked onto your food’s temperature. Once it has registered a reading, the “L” will stop blinking and remain lit up steady . You can now remove the thermometer from your food without losing its reading .
4. Continue cooking your food until it reaches the desired internal temperature according to these guidelines:
– Chicken breasts: 160°F (71°C) – Pork chops: 145°F (63°C) – Beef steaks: 145°F (63°C) – Salmon fillets: 145°F (63°C) 5. When your food has reached its desired internal temperature , press down on the power button again to turn off the thermometer . Remove it from your food , and enjoy!
Taylor Meat Thermometer 1487-9 Manual
If you’re a fan of perfectly cooked meat, then you need a good meat thermometer. The Taylor 1487-9 is one of the best on the market, and it’s very easy to use. Here’s everything you need to know about this fantastic kitchen tool.
First of all, let’s talk about how the Taylor 1487-9 works. It’s actually very simple – just insert the probe into your meat and wait for the beep. The internal temperature will be displayed on the large LCD screen, so you can cook your meat to perfection every time.
There are also some great features on this thermometer that make it even more user-friendly. For example, there is a hold function that allows you to take multiple readings without having to re-insert the probe each time. This is perfect if you’re cooking a big piece of meat like a turkey or ham.
Another great feature is the backlight function – this allows you to take readings in low light conditions without any problem at all.
So, what are you waiting for? Get yourself a Taylor 1487-9 Meat Thermometer and enjoy perfectly cooked meat every time!
Taylor Meat Thermometer 3519 Instructions
If you’re like most people, you probably don’t think too much about meat thermometers. But if you’re a serious cook, then you know that having a good meat thermometer is essential to making sure your food is cooked properly. The Taylor 3519 Meat Thermometer is one of the best on the market, and it’s very easy to use.
Here are the instructions for how to use it:
1. Remove the batteries from the back of the unit before first use.
2. Insert batteries into the back of the unit, being careful to follow proper polarity (+/-).
3. To turn on, press and hold the ON/OFF button for 3 seconds. The display will show –°C or –°F (the default mode is °C). Pressing the MODE button cycles between these two modes.
You can also cycle through different languages by pressing and holding down the MODE button until your preferred language appears on screen (English, French, Spanish, German or Italian).
4. To take a temperature reading in either °C or °F mode, simply insert the tip of probe into your food item and wait for a few seconds until a stable temperature reading appears on screen. Note that there is a small red dot near where the tip of probe inserts into back of unit – this indicates that probe is inserted correctly and ready to take readings.
If no red dot appears when probe is inserted, please check that batteries are installed correctly and/or try re-inserting probe several times until red dot appears (if necessary). Do not force probe into back of unit as this may damage both unit and probe! Please see user manual for more detailed information regarding care & cleaning of probes as well as warranty information should any problems arise with your product.
Taylor 1476 Thermometer Manual
If you’re looking for information on the Taylor 1476 thermometer, you’ve come to the right place. This blog post will provide detailed information on this particular model, including how to use it and what features it offers.
The Taylor 1476 is a digital thermometer that can be used for both indoor and outdoor use.
It has a large LCD display that makes it easy to read, even in low light conditions. The thermometer also features a backlight, so you can still see the display even if the sun is behind you.
To use the thermometer, simply remove the protective cap and insert the probe into whatever you’re measuring (be it food, liquids, etc.).
After a few seconds, the temperature will be displayed on the screen. If you want to take multiple readings, just press the hold button and then take your next reading. When you’re done, simply press the power button to turn off the device.
One nice feature of this thermometer is that it comes with a built-in timer. So if you’re cooking something that requires precise temperature control, you can set the timer and walk away without worry. The alarm will sound when your food is ready!
Overall, the Taylor 1476 is a great choice for anyone in need of an accurate and reliable digital thermometer. It’s easy to use and comes packed with useful features – all at an affordable price point.
How to Calibrate Taylor Digital Thermometer
If you own a Taylor digital thermometer, congratulations! You own one of the most accurate and reliable thermometers on the market. That said, even the best thermometers need to be calibrated from time to time to ensure they are providing accurate readings.
Here is a step-by-step guide on how to calibrate your Taylor digital thermometer:
1) First, make sure your thermometer is turned off.
2) Next, remove the battery cover and batteries from the back of the unit.
3) Locate the small recessed button labeled “CAL” near the bottom of the unit. Use a small object (like a paperclip) to press and hold this button for 3 seconds.
4) While still holding down the “CAL” button, reinsert the batteries into the unit.
Continue to hold down the button until you see the word “CAL” appear onscreen (this will take about 5 seconds). Once you see “CAL” appear onscreen, release the button. Your thermometer is now in calibration mode!
5) To complete calibration, place your thermometer in an ice bath (a bowl or container filled with ice water). Make sure that only the sensor tip is submerged in water – do not get any water inside ofthe unit itself! Allow it to sit in ice water for at least 60 seconds before removing it.
Once removed from ice water, press any button onthe unitto exit calibration mode and return itto normal operation. Congratulations – your Taylor digital thermometer is now calibrated and ready for use!
Credit: www.wayfair.com
How Do You Use a Meat Thermometer Step by Step?
A meat thermometer is a kitchen gadget that is used to measure the internal temperature of cooked meat. The thermometer is inserted into the thickest part of the meat, away from any bone. Depending on the type of meat being cooked, the ideal internal temperature will vary.
For example, chicken should be cooked to an internal temperature of 165 degrees Fahrenheit, while steak can be cooked to anywhere from 145-160 degrees Fahrenheit (depending on how you like it).
Here are some step-by-step instructions for using a meat thermometer:
1. Preheat your oven (if cooking the meat in an oven) to the appropriate temperature according to your recipe.
2. Insert the thermometer into the thickest part of the meat, making sure that it does not touch any bone.
3. If cooking in an oven, leave the thermometer in for several minutes until it stabilizes at the correct temperature reading. If grilling or smoking meats, insert and remove quickly so as not to overcook your food!
4. Once stabilized or removed from grill/smoker, check against desired doneness chart below and enjoy!
How Do I Get My Taylor Thermometer to Work?
If your Taylor thermometer isn’t working, there are a few things you can try to get it up and running again. First, check the batteries. If they’re old or low, they may need to be replaced.
Next, make sure the thermometer is clean – any dirt or debris on the sensor can interfere with its ability to take accurate readings. Finally, if the ambient temperature is very cold, try moving the thermometer to a warmer location; sometimes extreme cold can cause the sensor to malfunction.
What is the Hold Button for on Taylor Digital Thermometer?
If you’re using a Taylor digital thermometer, the hold button can come in handy for a few different reasons. For one, if you need to step away from the thermometer for any reason, holding the button will keep your current reading on the display so you don’t have to start over. Additionally, the hold function can be useful if you want to take multiple readings in quick succession and compare them later.
Simply take your first reading, press and hold the button, then take your second reading. When you release the button, both readings will appear on the screen side by side.
Are Taylor Meat Thermometers Accurate?
There are a lot of different factors that can affect the accuracy of a meat thermometer, but in general, Taylor meat thermometers are pretty accurate. One thing that can affect accuracy is where the sensor is located in the probe – if it’s not in the center, it can give an inaccurate reading. Another thing to keep in mind is that meat continues to cook even after you’ve taken it off the heat, so you should always take your readings a few minutes before you think the meat will be done cooking.
With these things in mind, Taylor thermometers are usually accurate to within a few degrees.
Taylor LED Thermometer
Conclusion
A meat thermometer is a great way to ensure that your food is cooked properly. Taylor Meat Thermometers are one of the most popular brands on the market. Here are some tips on how to use a Taylor Meat Thermometer:
1. First, you will need to insert the thermometer into the thickest part of the meat.
2. Make sure that the tip of the thermometer does not touch any bone, as this will give you an inaccurate reading.
3. Once the thermometer is inserted, wait for about 10 seconds before taking it out and checking the temperature reading.
4. The general rule of thumb is that pork should be cooked to an internal temperature of 145 degrees Fahrenheit, while beef should be cooked to 160 degrees Fahrenheit. Keep in mind that these temperatures may vary depending on your personal preferences.
5. Use these guidelines to help you cook your food to perfection every time!