How to Clean a Kitchenaid Ice Maker
To clean your Kitchenaid ice maker, first remove any ice cubes that are in the tray. Then, using a mild soap and warm water solution, wipe down the inside of the ice maker. Be sure to rinse well afterwards.
Next, use a clean cloth to dry the interior of the machine. Finally, replace the Ice Maker cover and turn on the machine to test it out.
- Unplug the ice maker from the power outlet
- Remove any ice cubes from the tray
- Take out the water filter, if your model has one, and replace it with a new one
- Fill a bowl with warm water and add a few drops of dish soap
- Dip a clean cloth into the soapy water and wipe down all of the exterior surfaces of the ice maker, including the control panel, door, and bin
- Use a clean, damp cloth to remove any soap residue from the surfaces
- *Sanitize*the interior of the ice maker by pouring a cup of white vinegar into the water reservoir and running 2-3 cycles until only vinegar remains in the bin OR by running bleach through 1 cycle (to sanitize) then following up with 2-3 cycles of just water to rinse completely
Kitchenaid Ice Maker Clean/Reset Button
The Kitchenaid Ice Maker Clean/Reset Button is a great way to keep your ice maker clean and functioning properly. This button is located on the front of the machine, and when pressed, it will cycle through a cleaning cycle that will remove any build-up or debris from the ice maker. It is important to press this button every few months to keep your ice maker working properly.
Cleaning Kitchenaid Ice Maker With Vinegar
If your Kitchenaid ice maker has been leaving behind cloudy or foul-tasting ice, it might be time for a deep clean. White vinegar is an effective natural cleaner that can remove built-up mineral deposits and get your ice maker working like new again.
To clean your Kitchenaid ice maker with vinegar, first unplug the unit from the power outlet.
Then, remove any loose ice from the bin and discard it. Next, fill the ice maker’s water reservoir with equal parts water and white vinegar. Run the machine through a full cycle, discarding the resultant ice.
Once the cycle is complete, rinse out the reservoir with fresh water to remove any lingering vinegar taste. Finally, wipe down all of the exterior surfaces of the unit with a damp cloth to remove any dirt or grime.
By following these simple steps, you can easily clean your Kitchenaid ice maker and enjoy fresh, great-tasting ice once again!
Ice Maker Cleaning Solution
If your ice maker is starting to produce less than stellar ice, it might be time for a cleaning. An ice maker cleaning solution will help remove any build-up of minerals and bacteria that can cause problems.
When choosing an ice maker cleaning solution, look for one that is designed specifically for use on ice makers.
This will ensure that it won’t damage the delicate parts of your machine. Many solutions are simply diluted vinegar, which can be just as effective as a commercial cleaner.
To use, simply follow the directions on the bottle.
Most solutions will need to be left in contact with the ice maker for a few hours before being flushed out with clean water. Once you’ve cleaned your machine, be sure to run several batches of clean water through it to rinse away any residual cleaner.
Your ice maker should now be back to its old self, producing crisp and clean ice cubes!
How to Clean Mold from Kitchenaid Ice Maker
If your Kitchenaid ice maker has developed some mold, don’t despair! With a little elbow grease and the right cleaners, you can get it looking like new again. Here’s how:
1. Unplug the ice maker from its power source. Remove any ice cubes that are in the tray.
2. Mix together a solution of 1 part bleach to 10 parts water.
Put this into a spray bottle.
3. Spray the moldy areas of the ice maker with the bleach solution. Let it sit for 5 minutes to work its magic.
4. Scrub the area with a soft-bristled brush or sponge to remove any remaining mold spores. Rinse well with clean water when you’re finished scrubbing.
5 .
Kitchenaid Ice Maker Cleaner And Filter
If you have a Kitchenaid ice maker, then you know how important it is to keep it clean and well-maintained. A good way to do this is to use a Kitchenaid ice maker cleaner and filter.
There are a few different types of cleaners that you can use on your Kitchenaid ice maker.
One type is an all-purpose cleaner that you can use on the exterior of the machine. This will help to remove any dirt or grime that has built up on the outside of the machine.
Another type of cleaner that you can use is a descaling solution.
This is designed to remove any calcium deposits that may have formed on the interior surfaces of the machine. This solution should be used every six months or so in order to keep your ice maker working at its best.
Finally, there is a special ice maker filter that you can purchase for your Kitchenaid ice maker.
This filter will help to remove impurities from the water that is used to make the ice cubes. It is important to change this filter every few months in order to ensure that your ice cubes are as pure as possible.
Credit: www.kitchenaid.com
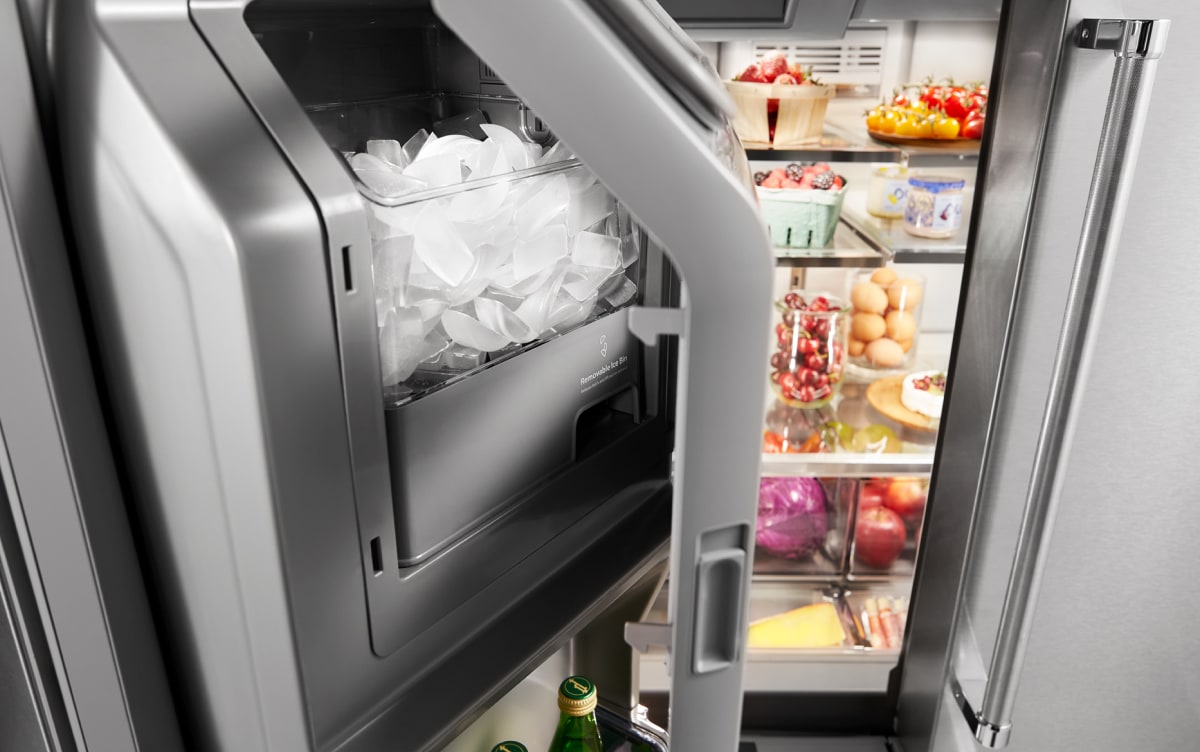
How Do I Clean My Kitchenaid Refrigerator Ice Maker?
If your Kitchenaid refrigerator ice maker isn’t working properly, it may be time to clean it. Depending on how often you use your ice maker, you may need to clean it every few months or so. Fortunately, cleaning your ice maker is a fairly simple process that only takes a few minutes.
To get started, unplug your refrigerator from the power outlet and remove the ice bin. Next, locate the two screws that hold the cover plate in place and remove them. Once the cover plate is removed, you should see the ice mold and auger.
Use a soft brush or cloth to remove any dirt or debris from the auger and mold. Be sure to also wipe down the inside of the cover plate. Once everything is clean, reassemble your ice maker and plug it back in.
Now run some water through the ice maker to flush out any residual cleaner. You should notice an improvement in the quality of your ice cubes after completing this simple cleaning process!
How Do I Use the Clean Cycle on My Kitchenaid Ice Maker?
Assuming you are referring to a KitchenAid stand-alone ice maker:
To clean your ice maker, start by unplugging it from the power source. Then, empty all of the ice out of the bin and discard it.
Next, remove any loose debris from inside the machine with a soft brush or cloth. Once the interior is clear, fill a bucket with 1 gallon of warm water and 1/4 cup vinegar or lemon juice. Place a towel under the ice maker to catch any drips, then pour the solution over the top of the machine.
Let it soak for 15 minutes before rinsing with clean water. Finally, wipe down the exterior of the machine with a damp cloth and allow it to air dry completely before plugging it back in and restarting.
How Do You Get Mold Out of a Kitchenaid Ice Maker?
If you notice mold in your Kitchenaid ice maker, it’s important to clean it immediately. Mold can cause illness and is difficult to remove once it’s established. To clean mold from your ice maker:
1. Unplug the ice maker from the power source.
2. Remove all of the ice from the bin.
3. Mix a solution of 1 part bleach to 10 parts water in a bucket.
4. Use a sponge or cloth to wipe down all surfaces of the bin with the bleach solution, paying special attention to any areas where mold is present.
5. Rinse the bin thoroughly with clean water and dry completely before replacing the ice and plugging the unit back in.
How Do I Clean the Inside of My Ice Maker?
If your ice maker has begun to produce cloudy or slushy ice, it may be time to clean the machine. Luckily, this is a fairly easy process that only requires a few household supplies.
To start, unplug the ice maker from its power source.
Then, remove any loose ice from the bin and discard it. Next, use a soft brush or cloth to wipe down the inside of the machine, being careful not to damage any of the delicate parts.
Once you’ve removed all of the visible dirt and grime, you can begin cleaning the interior with a vinegar solution.
Simply mix equal parts water and white vinegar in a bowl or pitcher, then pour it into the fill cup of your ice maker. Run the machine for several minutes until it dispenses all of the vinegar solution.
Afterwards, flush out the system by running plain water through it several times.
Once you’re satisfied that all traces of vinegar have been removed, dry off any wet surfaces and replace any removable parts before plugging your ice maker back in and resuming normal operation.
How to Clean and Descale Your Ice Maker | KitchenAid Ice Maker
Conclusion
If your Kitchenaid ice maker isn’t working as efficiently as it should be, it might be time for a deep cleaning. Luckily, this is a relatively easy process that you can do at home with just a few simple steps. First, start by unplugging the ice maker from the power source.
Then, remove any loose ice from the interior of the unit with a soft cloth or brush. Next, use a mild soap and warm water to clean all of the removable parts of the machine, including the tray, basket, and cover. Once everything is washed and dried, reassemble the unit and plug it back in.
Your Kitchenaid ice maker should now be good as new!