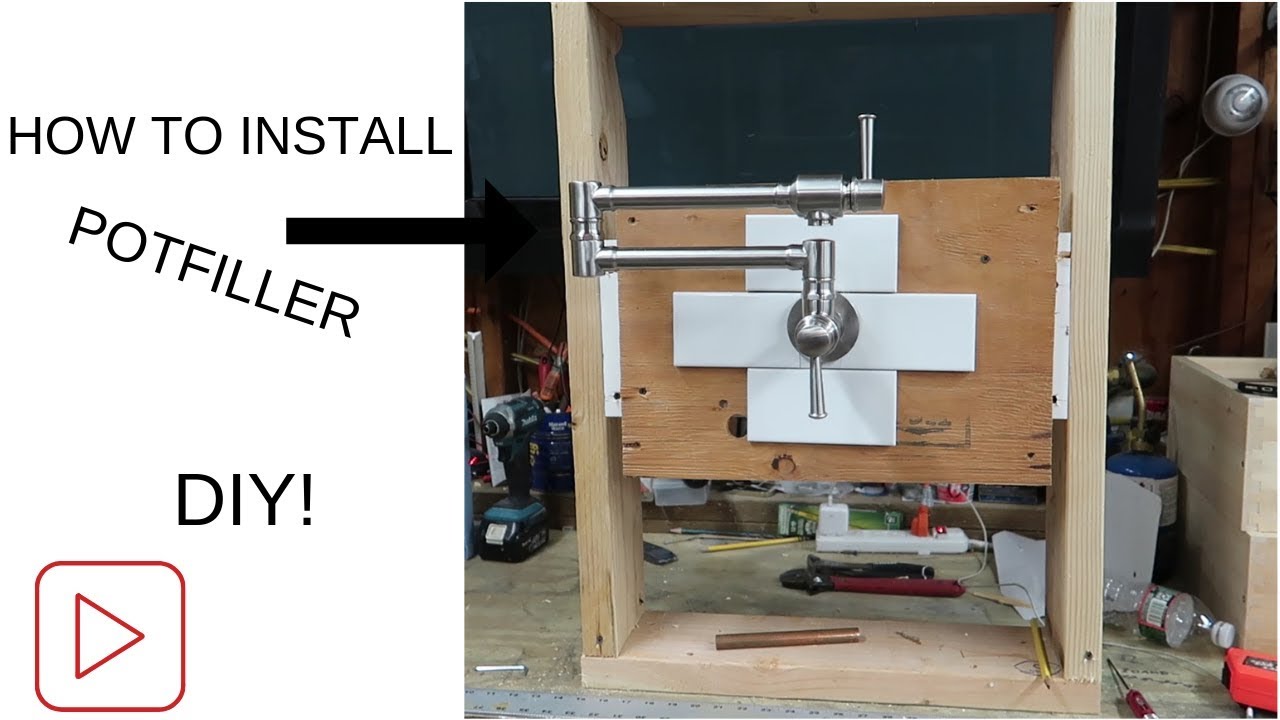
How to Install a Pot Filler in an Existing Wall
Before installation, turn off the water at the shut-off valves beneath the sink. Next, use a stud finder to locate the wall studs in the area where you want to install the pot filler. Once you have found the studs, mark their locations on the wall with a pencil.
Now it’s time to cut holes for the pot filler’s supply lines. First, use a 1/2-inch drill bit to bore two pilot holes through one of your marked stud locations. These pilot holes will be for the hot and cold water lines.
Then, enlarge these pilot holes to 3/4 inches using a step drill bit.
Next, thread copper supply lines through your newly enlarged pilot holes and secure them in place with pipe clamps. Be sure to leave enough slack in each line so that you can easily make connections once everything is installed in the wall.
Finally, attach your pot filler’s water control valves to each end of the copper supply lines using soldering techniques or compression fittings.
- Turn off the water at the shutoff valve and open the faucet to relieve pressure
- Remove the old faucet by unscrewing it from the wall
- Install a T-fitting in the hot water line and screw on a ball valve to control water flow
- Screw the pot filler into place on the wall, attaching it to the T-fitting with copper tubing or flexible hose
- Turn on the water at the shutoff valve and check for leaks before using your new pot filler!
How to Install Water Line for Pot Filler
If you’re lucky enough to have a pot filler in your kitchen, you know what a convenience it is. No more lugging heavy pots of water from the sink to the stove! But if your pot filler isn’t properly installed, it can be more trouble than it’s worth.
Here’s how to make sure your pot filler is installed correctly, so you can enjoy all the benefits it has to offer.
The first step is to shut off the water supply to the area where you’ll be working. Next, remove any existing fixtures or pipes that might be in the way.
Once everything is clear, measure twice and cut once to ensure that your new water line is the correct length.
Next, attach one end of the water line to the cold water supply valve using copper tubing and brass fittings. Be sure to use Teflon tape on all threaded connections to prevent leaks.
Then run the tubing up behind the wall and over to where your pot filler will be installed.
Finally, attach the other end of the tubing to the pot filler itself. Make sure all connections are tight and secure before turning on the water supply again.
Test your new pot filler by running some water through it and making sure there are no leaks anywhere along the line.
Now that your pot filler is installed correctly, enjoy all its many benefits!
Adding Pot Filler to Existing Kitchen
When it comes to kitchen design, there are a lot of options to choose from. But one of the most popular choices among homeowners is to add a pot filler to their existing kitchen.
A pot filler is a great addition to any kitchen because it provides an easy way to fill pots with water without having to carry them over to the sink.
Plus, it can also be used as a handy pre-rinsing tool for dirty dishes.
If you’re thinking about adding a pot filler to your own kitchen, here are a few things you should keep in mind:
First, make sure that you have enough clearance above your stovetop.
A pot filler needs about 18 inches of clearance in order to function properly.
Second, consider the finish of your faucet. Pot fillers come in a variety of finishes, so you’ll want to choose one that coordinates well with the rest of your kitchen’s hardware and fixtures.
Third, think about what style of pot filler would best suit your needs. There are two basic styles: wall-mounted and deck-mounted. Wall-mounted pot fillers are great for small kitchens because they don’t take up any counter space.
Deck-mounted pot fillers are more versatile because they can be installed in different locations on your countertop, depending on where you need them most. fourth and lastly take into account the price when making your decision some can range from $100-$600 depending on style brand etc so just factor that n when making ur final decision !
Plumbing for Pot Filler
If you love to cook, then you know how important it is to have a good pot filler faucet. Not only does it make filling pots with water easier, but it also frees up your hands for other tasks. Plus, it can be a real time saver when you’re cooking for a large group.
When choosing a pot filler faucet, there are a few things to keep in mind. First, you’ll want to make sure that the faucet is compatible with your sink. Second, you’ll need to decide on the right style and finish.
And finally, you’ll want to consider the overall height and reach of the faucet.
Rough Plumbing for a Pot Filler
If you’re considering adding a pot filler to your kitchen, there are a few things you need to know about the rough plumbing. First, you’ll need to shut off the water supply to the area where you’ll be working. Next, using a drill or hole saw, create a hole in the wall for the pot filler’s spout.
Once the hole is created, thread the appropriate fittings onto the hot and cold water lines and screw them into place. Finally, attach the pot filler spout to the wall and turn on the water supply. Test your new fixture by filling up a pot of water and enjoy not having to lug it across your kitchen!
Pot Filler Over Stove Installation
If you’re looking to add a pot filler to your kitchen, there are a few things you need to consider before installation. First, you’ll need to decide where you want the pot filler installed. The most common location is over the stove, but you can also install it near the sink or in another spot that’s convenient for you.
Once you’ve decided on the location, it’s time to start thinking about how you want the pot filler installed.
The most important thing to keep in mind when installing a pot filler is making sure that the water line is properly connected. You’ll need to connect the water line to an existing water source, such as a cold water line under your sink or behind your stove.
Once the water line is connected, you can then start thinking about installation of the actual pot filler itself.
There are two main types of pot fillers – wall mount and deck mount. Wall mount pot fillers are easier to install, but they do require that you have a stable surface to mount them on.
Deck mount pot fillers are more difficult to install but provide a cleaner look since they’re mounted directly onto your countertop or backsplash. Whichever type of pot filler you choose, be sure to follow all instructions carefully so that your new addition will work properly and last for many years!

Credit: dianaelizabethblog.com
Can You Add a Pot Filler to Existing Kitchen?
Adding a pot filler to your kitchen can be a great way to save time and space. If you’re not familiar with pot fillers, they are essentially faucets that are mounted on the wall near your stovetop. They allow you to fill pots with water without having to lug them over to the sink.
This can be a major time-saver, especially if you do a lot of cooking.
Installing a pot filler is generally pretty straightforward. However, there are a few things you’ll need to keep in mind before getting started.
First, you’ll need to make sure that the wall where you plan to install the filler is strong enough to support it. You’ll also need access to both hot and cold water lines. If your kitchen doesn’t have existing water lines near the stovetop, you may need to hire a professional plumber to run new lines.
Once you’ve sorted out the logistics, installing a pot filler is relatively easy. Most models come with all of the necessary hardware and instructions. Simply follow the directions carefully and take your time – rushing could result in leaks or other problems down the road.
If done properly, adding a pot filler can be an extremely useful addition to your kitchen.
How Do You Install a Wall Mount Pot Filler?
If you’re looking to add a touch of luxury to your kitchen, installing a wall mount pot filler is a great way to do it. But before you start your installation, there are a few things you need to know.
First, you’ll need to decide where you want your pot filler to be installed.
It’s important to choose a spot that’s close to your stove top and sink, as well as being easily accessible. Once you’ve found the perfect spot, mark the center of the mounting hole on the wall.
Next, drill a pilot hole in the center of the mark using a 1/8″ drill bit.
Be careful not to drill too deeply – you don’t want to damage any pipes or wiring that might be behind the wall.
Now it’s time to install the wall mount bracket for your pot filler. First, hold the bracket up against the wall and use a level to make sure it’s straight.
Then, use screws or nails (depending on what type of bracket you’re using) to secure it in place.
Finally, it’s time to install the pot filler itself. Start by attaching one end of the supply line hose to the water source (usually underneath your sink).
Then thread the other end of the hose through the mounting bracket and screw it into place on top of the pot filler unit. That’s it!
How Much Does Pot Filler Installation Cost?
Pot fillers are a great addition to any kitchen, providing an easy way to fill pots with water without having to carry them to the sink. They can be installed above the stove or in another convenient location, and range in price from around $100 to $1,000. Installation costs will depend on the complexity of the installation and whether you hire a professional or do it yourself.
Generally speaking, pot filler installation is not a difficult task, but it is always best to consult with a plumber or contractor before undertaking any major home improvement projects.
What is Needed to Install a Pot Filler?
In order to install a pot filler, you will need the following items: a drill, a screwdriver, an adjustable wrench, Teflon tape, and plumber’s putty. You will also need to determine where you would like to install the pot filler. Once you have gathered all of the necessary supplies and determined the installation location, you can begin the installation process.
First, use the drill to create pilot holes in the chosen location. Next, apply Teflon tape to the threads of the pot filler before screwing it into place. Be sure to use an adjustable wrench to tighten all connections.
Finally, apply plumber’s putty around the base of the pot filler in order to create a watertight seal.
How To Install Pot Filler
Conclusion
Installing a pot filler in an existing wall is not as difficult as it may seem. With a few tools and supplies, you can have your new pot filler installed in no time. Here are the steps to take to install a pot filler in an existing wall:
1. Cut a hole in the drywall where you want the pot filler to be installed. Be sure to make the hole large enough for the pot filler’s mounting bracket.
2. Install the mounting bracket for the pot filler using screws or nails.
3. Hang the pot filler on the mounting bracket and secure it in place with screws or bolts.
4. Connect the water supply line to the pot filler using flexible tubing and fittings. Be sure to use tape or clamps to secure all connections firmly in place.


