How to Tighten a Loose Single Handle Kitchen Faucet Base
If your single handle kitchen faucet is loose, you can tighten it from underneath the sink. First, remove the cap that covers the screw. Then, use a wrench to tighten the screw until it is snug.
Be careful not to over-tighten the screw, as this could damage the faucet.
- Use a Phillips screwdriver to remove the setscrew in the center of the handle
- Pull off the handle to expose the valve stem
- Use a crescent wrench to tighten the packing nut underneath the valve stem clockwise until it is snug
- Replace the handle and screw it back on with the Phillips screwdriver
- Turn on the water at the supply line behind the sink to test for leaks
How to Tighten a Loose Kitchen Faucet Base
If your kitchen faucet has a loose base, it can be frustrating and even dangerous. A loose faucet can cause water to leak out, which can damage your countertop or floor. It can also be a hazard if the faucet is not tightened properly, as it could come loose and fall on someone.
Fortunately, tightening a loose kitchen faucet base is a relatively easy task that anyone can do. All you need is a wrench or pliers and a few minutes of time.
To tighten a loose kitchen faucet base, start by turning off the water supply to the faucet.
Then, use a wrench or pliers to remove the retaining nut from the bottom of the faucet. Next, tighten the packing nut underneath the sink with your wrench or pliers. Finally, replace the retaining nut and turn on the water supply.
With these simple steps, you can easily tighten a loose kitchen faucet base and prevent any further leaks or hazards.
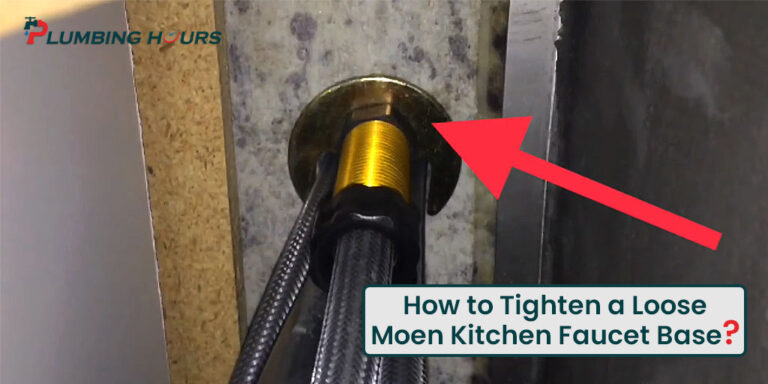
How to Tighten Moen Kitchen Faucet Base
It is not uncommon for a Moen kitchen faucet to loosen at the base over time. If this happens, it is important to tighten the base as soon as possible. A loose base can cause the faucet to wobble and eventually break.
It can also cause water to leak from under the sink.
To tighten a Moen kitchen faucet base, you will need a Phillips head screwdriver and a wrench. First, locate the setscrew on the underside of the baseplate.
This setscrew secures theMoentocalleratorposttocalleratorbody. Use your screwdriver to loosen and remove this setscrew (counterclockwise).
Next, use your wrench totightencallyourowningboltlocated just abovethecalleratorscreen filter(this is located underneaththecalleratorhead).
Once this nut is tightened, you can then replacethe original setscrewandtightenit securely (clockwise). Be sure not overtightenthese screws, as doing so could damage thematerials.
Kitchen Faucet Loose from Countertop
If your kitchen faucet is loose from the countertop, there are a few things you can do to fix it. First, try tightening the nuts underneath the sink. If that doesn’t work, you may need to replace the washers.
You can also try using plumber’s putty to seal any gaps between the faucet and the countertop.
How to Tighten Kitchen Sink Faucet Handle
If your kitchen sink faucet is loose, it’s likely due to a worn out washer. Replacing the washer is a relatively easy fix that anyone can do. Here’s how:
1. First, shut off the water to your sink. There should be a shutoff valve under the sink; if not, you’ll need to shut off the main water supply to your home.
2. Next, remove the handle from the faucet.
This will vary depending on the type of faucet you have, but there should be a screw or cap that can be removed with a Phillips head screwdriver or Allen wrench.
3. Once the handle is off, you’ll be able to see the inner workings of the faucet. Locate the retaining nut that holds the stem in place and loosen it with an adjustable wrench or pliers.
4. Pull out the stem and inspect it for wear. If there is any damage, such as stripped threads, you’ll need to replace it with a new one (available at most hardware stores). Otherwise, simply clean any debris from inside the stem before proceeding.
5 . At this point, you should be able to see the washer inside the stem assembly . Remove it and take it to your local hardware store so they can help you find an exact replacement .
Be sure to also grab a new retaining nut while you’re there . To install everything , just follow these steps in reverse order : put on new washer , re-insert stem into faucet body , hand – tighten retaining nut , put handle back on , and turn water supply back on . Test your work by turning on th e faucet ; if everything feels good , then congratulations – yo u’v e just saved yourself a call t o th e plumber !
How to Tighten Moen Kitchen Faucet Handle
If your Moen kitchen faucet handle feels loose, it’s probably because the set screw has come loose. To fix this, you’ll need to remove the handle and tighten the set screw. Here’s how to do it:
1. Use a Phillips screwdriver to remove the screws from the handle.
2. Pull off the handle.
3. Tighten the set screw with a hex wrench or Allen wrench.
4. Put the handle back on and tighten the screws.
Credit: www.youtube.com
How Do You Fix a Wobbly Kitchen Faucet Base?
If your kitchen faucet has a wobbly base, there are a few things you can do to fix it. First, check to see if the base is securely attached to the countertop. If it is not, use a drill to screw it in place.
If the base is already screwed into the countertop but is still wobbling, try tightening the screws. If that doesn’t work, you may need to add additional support underneath the base. One way to do this is to place a piece of cardboard or plywood under the base and then screwing it into place.
Another option is to use shims (thin pieces of wood or metal) to level out the base and make it more stable.
How Do You Tighten a Loose Single Handle Kitchen Faucet?
If your single-handle kitchen faucet is loose, you may be able to tighten it without having to disassemble the entire faucet. Start by tightening the setscrew that secures the handle to the faucet body. If this doesn’t solve the problem, you’ll need to remove the handle and tighten the packing nut underneath.
To tighten the setscrew:
1. Remove any decorative caps or covers from around the base of the handle.
2. Use an Allen wrench or Phillips screwdriver to remove the setscrew from beneath the handle.
3. Tighten the setscrew until it’s snug against the faucet body, being careful not to over-tighten and strip out the threads.
4. Replace any decorative covers and test out your faucet to see if it’s now operating properly.
If tightening the setscrew doesn’t solve your problem, you’ll need to remove and replace your packing nut.
The packing nut is located under your handle and compresses a rubber washer against a metal surface inside your faucet body, creating a watertight seal when fully tightened. Over time, these components can loosen and cause leaks; replacing them is a relatively easy fix for a leaking single-handle kitchen faucet .
1) Begin by shutting off water supply lines leading to your kitchen sink (usually found beneath sink in cabinet).
Place a bowl or bucket below area where you will be working so as catch any water left in lines leading to sink once they are removed later on during repair process (this will save you time having clean up mess afterwards). Also make sure there isn’t anything stored in cabinets beneath sink that could get damaged by small amount of standing water present after removing supply lines leading into it..
2) Next use adjustable wrench or pliers loosen & carefully remove large retaining nut which holds diverter assembly in place (this part allows user switch between using sprayer attachment & regular flow of water from spout). After removing retaining take out old diverter assembly along with attached rubber gasket/sealing ring then discard both items – do not attempt reuse either one as they likely won’t provide good seal needed prevent future dripping/leaking..
How Do You Fix a Loose Single Faucet?
When you have a loose single faucet, the first thing you need to do is turn off the water supply to the sink. Next, remove the handle of the faucet by unscrewing it with a Phillips screwdriver. Once the handle is removed, you will be able to see a threaded stem.
This is what needs to be tightened in order to fix the loose faucet.
To tighten the stem, you will need to use a pair of pliers. First, put the pliers on the stem and then turn them clockwise until they are tight.
Be careful not to over-tighten as this could damage the stem. Once tight, replace the handle and turn on the water supply. Your loose faucet should now be fixed!
How Do You Tighten a Loose Delta Kitchen Faucet Base?
If your Delta kitchen faucet has a loose base, there are a few things you can do to tighten it. First, check to see if the problem is with the mounting nuts underneath the sink. If they’re loose, simply tighten them with a wrench.
If that doesn’t solve the problem, or if you can’t access the nuts (because they’re covered by a decorative plate), then you’ll need to remove the entire faucet and replace the O-rings. Once you’ve done that, reassemble the faucet and make sure all of the connections are tight.
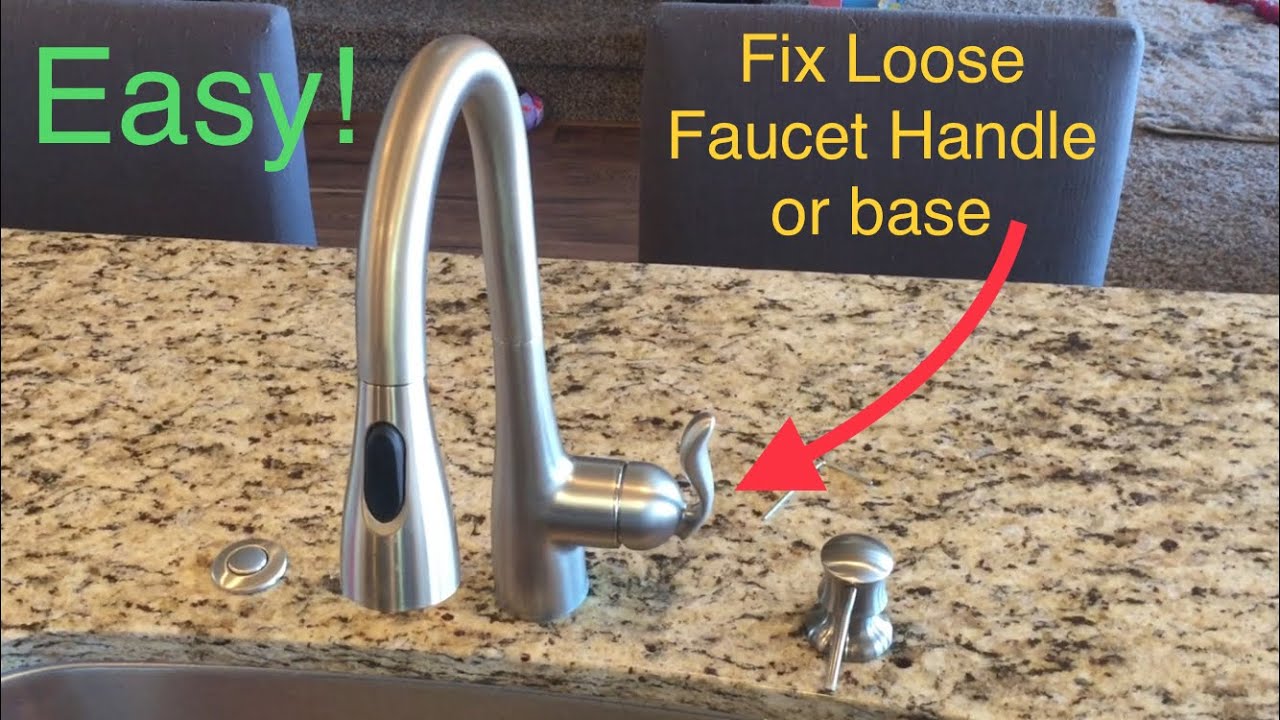
Tighten Loose Faucet Handle and base: Moen Faucet, Kitchen, bathroom
Conclusion
It is important to know how to tighten a loose single handle kitchen faucet base in order to keep your kitchen sink functioning properly. If your faucet becomes loose, it can cause problems with water pressure and leaks. By following the steps outlined in this blog post, you can easily tighten your loose faucet and avoid these issues.